Initialize a Test Maker Project
Initialize a Test Maker project with the following command:
npx ketm init [OPTIONS...]
Options include:
- None at the moment. Use
npx ketm init --helpfor any future updates.
The npx ketm init command presents several options for initializing a Test Maker project. Here's a breakdown of each generation method:
Init Express
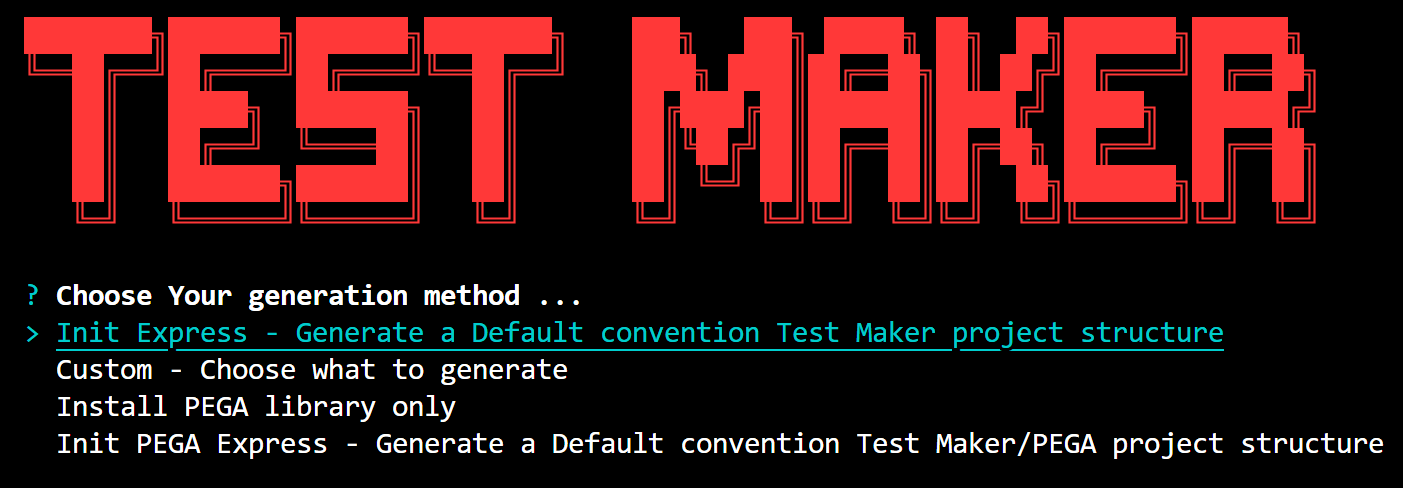
This option generates a default convention Test Maker project structure suitable for any applications. It sets up the necessary directories and files to start writing tests.
When initializing a Test Maker project using the npx ketm init command with the Init Express option, the following actions are performed:
-
NPM test:local script: A script for running tests locally is generated and configured in the
package.jsonfile. -
NPM test:ci script: A script for running continuous integration tests is generated and configured in the
package.jsonfile. -
Test Maker Local Configuration File: A Test Maker configuration file (
test-maker.local.ts) is generated. This file contains configurations specific to running tests locally. -
Test Maker CI Configuration File: Another Test Maker configuration file (
test-maker.ci.ts) is generated. This file contains configurations specific to running tests in a continuous integration environment. -
tsconfig.json: A TypeScript configuration file (
tsconfig.json) is generated. This file provides configuration settings for TypeScript projects. -
Example Test Specification: An example test specification file (
example-spec.ts) is generated under thesrc/specsdirectory. This file serves as a template for writing test specifications using Test Maker syntax.
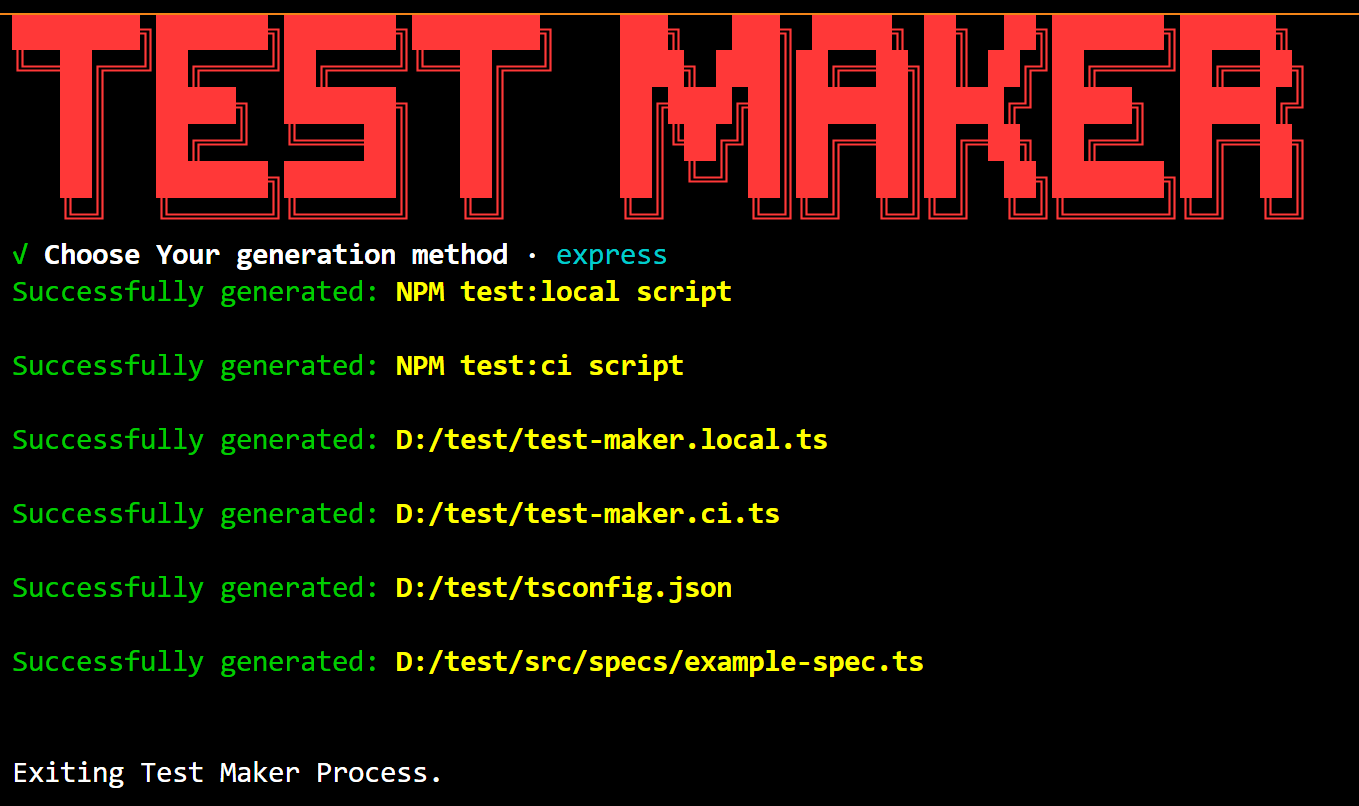
The Test Maker project is now initialized with a basic project structure and configuration files, allowing you to start writing and running tests for your Express.js application.
Custom
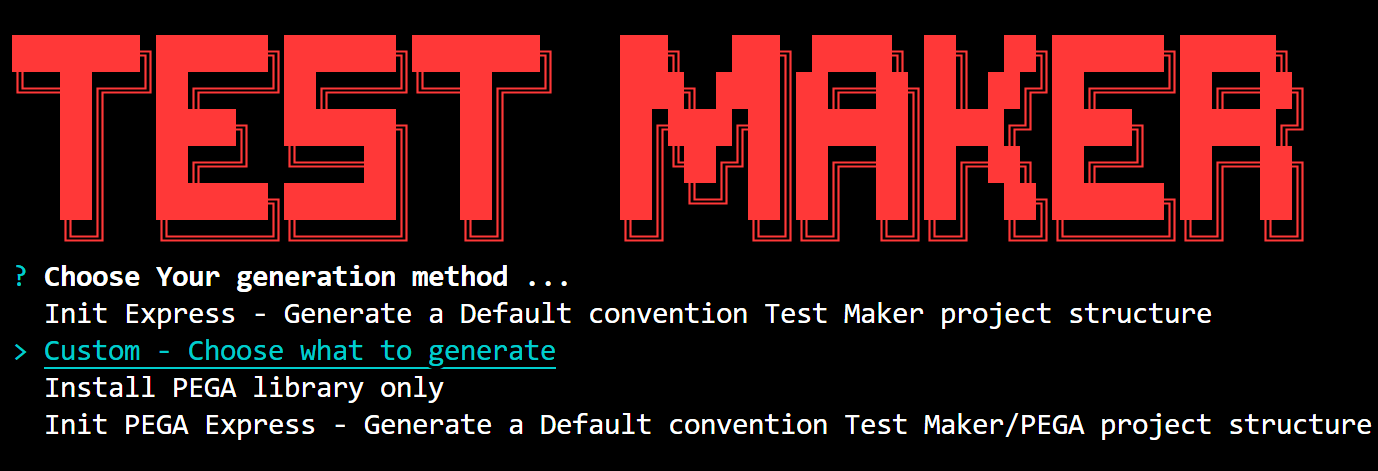
Choosing the "Custom" option during initialization allows you to tailor the generation process according to your specific project requirements. It provides flexibility in selecting individual components or features to include in your Test Maker project. Here's how the process works:
-
Choose Your Generation Method: After running the
npx ketm initcommand, select the "Custom" option from the list of available generation methods. -
Select Components to Generate: You'll be presented with a list of components or features that you can include in your project. These may include:
- TypeScript Configuration (
tsconfig.json) - Spec Folder and Example Spec File
- NPM run
test:localScript - NPM run
test:ciScript - Test Maker Local Configuration File (
test-maker.local.ts) - Test Maker CI Configuration File (
test-maker.ci.ts)
- TypeScript Configuration (
-
Navigate and Select Files: To select a file, use the arrow keys to navigate to the desired file in the list of available options. Press the space key to select the file you want to include in your project. You'll notice that the circle next to the file is filled when selected.
-
Confirm Selection: After selecting the desired files, press the Enter key to confirm your selection.
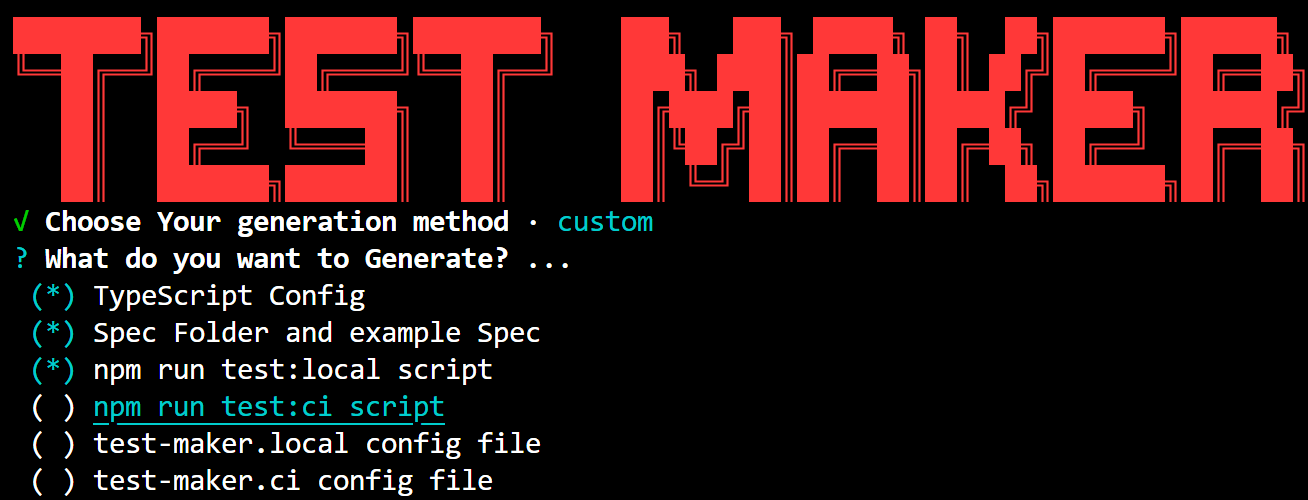
If you decide not to select any files and press Enter, you'll see a message indicating that no items were selected. This allows you to proceed without including any additional files in your project structure.
Choose the components you need based on your project requirements and preferences.
Install PEGA library only
This option installs the PEGA library only without generating any project structure. It's useful if you only need to install the PEGA library for your existing Test Maker project.

You should see a confirmation message and pega-model added inside your package.json file.

Init PEGA Express
Choosing the "Init PEGA Express" option generates a default convention Test Maker/PEGA project structure specifically tailored for Express.js applications with PEGA integration. It sets up directories and files required for testing Express.js applications with PEGA features integrated.

After selecting the "PEGA Express" generation method, the following actions are performed:
-
README.md: A README file (
README.md) is generated, providing instructions and information about the initialized project. This file serves as documentation for the project structure and customization options. -
Source Directory: A source directory (
src) is generated, where the application source code and test files will be stored. -
Test Maker CI Configuration File: A Test Maker CI configuration file (
test-maker.ci.ts) is generated. This file contains configurations specific to running tests in a continuous integration environment with PEGA integration. -
Test Maker Local Configuration File: A Test Maker local configuration file (
test-maker.local.ts) is generated. This file contains configurations specific to running tests locally with PEGA integration. -
Test Maker PEGA Configuration File: Another Test Maker configuration file (
test-maker.pega.ts) is generated. This file contains configurations specific to PEGA integration. -
tsconfig.json: A TypeScript configuration file (
tsconfig.json) is generated. This file provides configuration settings for TypeScript projects. -
NPM run
test:localScript: A script for running tests locally (test:local) is generated and configured in thepackage.jsonfile. -
NPM run
test:ciScript: A script for running continuous integration tests (test:ci) is generated and configured in thepackage.jsonfile. -
PEGA Model Installation: The PEGA Model is installed as a dependency for the project.
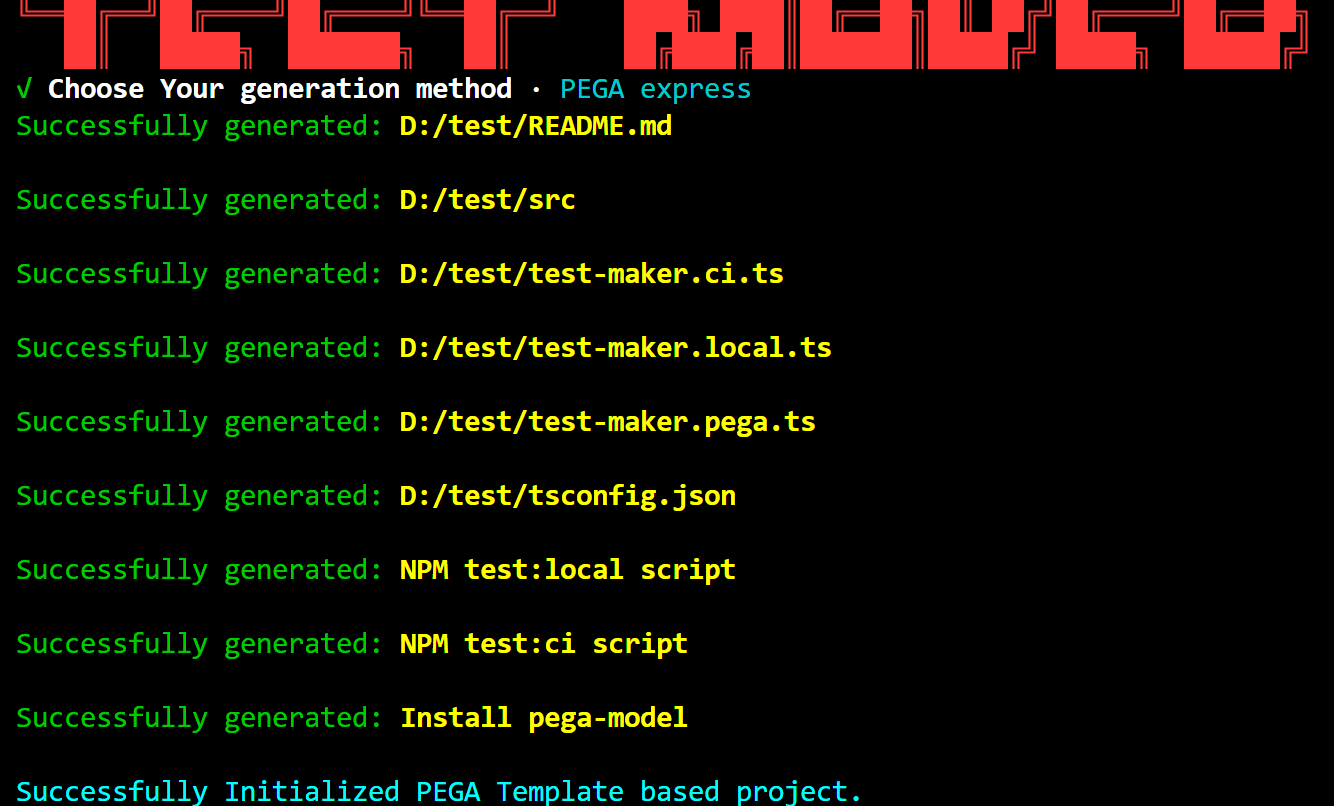
After initialization, the project is ready for further customization and development. Users are encouraged to review the generated README file (README.md) for additional information and instructions on customizing the project according to their requirements.