OpenAI Test generation

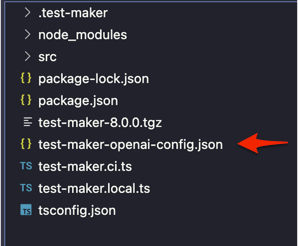
In order to use OpenAI for code generation, you first need to configure your OpenAI settings in your project directory. Create a JSON file named test-maker-openai-config.json and add your OpenAI API key:
{
    "apiKey": "your_API_key",
    "extraPrompt": "your_extra_prompt",
    "model": "your_model",
    "temperature": "your_temperature",
    "max_tokens": "your_max_tokens",
    "n": "number" ,
    "customPrompt": "your_custom_prompt"
}
The only mandatory or required option is the API key. Ensure you provide your valid API key to enable OpenAI integration. Other options like extraPrompt, model, temperature, max_tokens, n:number, and customPrompt are optional and can be configured based on your specific requirements.
-
Temperature:
- Description: The temperature parameter influences the randomness and creativity of the generated output.
- Usage: Lower values (e.g., 0.2) produce more focused and deterministic outputs, while higher values (e.g., 1.0) result in more diverse and creative outputs.
- Trade-off: Choose a temperature value based on the desired trade-off between coherence and creativity for your specific application.
- Range: The temperature can be set in the range from 0 to 2.
-
Models:
- Overview: OpenAI provides various models with different capabilities and use cases. For detailed information about each model, refer to the OpenAI Models Overview.
- Continuous Upgrades: OpenAI continually upgrades its models, and developers can use static model versions for at least three months after an updated model is introduced.
- Model Versions: Verify the specific model version used in the response object after sending a request (e.g.,
gpt-3.5-turbo-0613). - Open Source Models: OpenAI has also published open source models including Point-E, Whisper, Jukebox, and CLIP.
- Model Deprecation: Models may be deprecated, and OpenAI provides information about replacement models.
-
max_tokens: The
max_tokensoption in OpenAI's API is used to limit the number of tokens (words or characters) generated in the response. Tokens are chunks of text, which could be as short as a single character or as long as a word depending on the language.Setting a value for
max_tokensallows you to control the length of the generated output. For example, if you setmax_tokensto 50, the API response will include content up to the first 50 tokens, and the generation will stop at that point.Here's an example usage:
{
    "max_tokens": 50,
    // other OpenAI API options
}
In this example, the generated content will be constrained to a maximum of 50 tokens. Adjusting this parameter can be useful when you want to limit the length of the generated output for specific use cases or to fit within certain constraints.
Once your OpenAI configuration is set, you can use the OpenAI prompt to generate code. The quality of the code generated depends on the command you give to the AI and what you've taught the AI.
-
n (Number of Choices): The parameter
nspecifies the number of chat completion choices to generate for each input message in a conversation. When using the OpenAI API for chat-based language tasks, you can set the value ofnto control the number of alternative completions the API returns for a given input message.For example, if you set
nto 5, the API will generate and return five different possible completions for each input message in the conversation.Here's a brief summary of how
nworks in the context of chat-based language tasks:- n (Number of Choices): Specifies the number of alternative completions to generate for each input message.
- Usage: It allows you to explore different variations or responses that the model might generate for a given input.
- Example: If
nis set to 3, the API might provide three different responses for each input message in the conversation.
Make sure to refer to the specific documentation of the OpenAI API version you are using for any updates or changes related to the
nparameter. -
extraPrompt: The
extraPromptoption allows you to merge the default Test Maker prompt with the one provided by the user. This can be useful for generating code specific to Test Maker features while incorporating additional instructions or context.For example:
{
    "extraPrompt": "your_extra_prompt",
    // other OpenAI API options
}
The content of
extraPromptwill be added to the default Test Maker prompt, providing additional guidance to the AI. -
customPrompt: The
customPromptoption allows you to generate code of any type by ignoring the default Test Maker prompt. If you have a specific prompt or command in mind, you can usecustomPromptto instruct the AI accordingly.For example:
{
    "customPrompt": "your_custom_prompt",
    // other OpenAI API options


}
The AI will focus solely on the content provided in
customPromptwithout considering the default Test Maker prompt.
Utilize the extraPrompt to generate specific Test Maker features and employ the customPrompt to generate code of any type.
Follow these steps:
- Open the OpenAI prompt by clicking on
Generate code with Open AI.
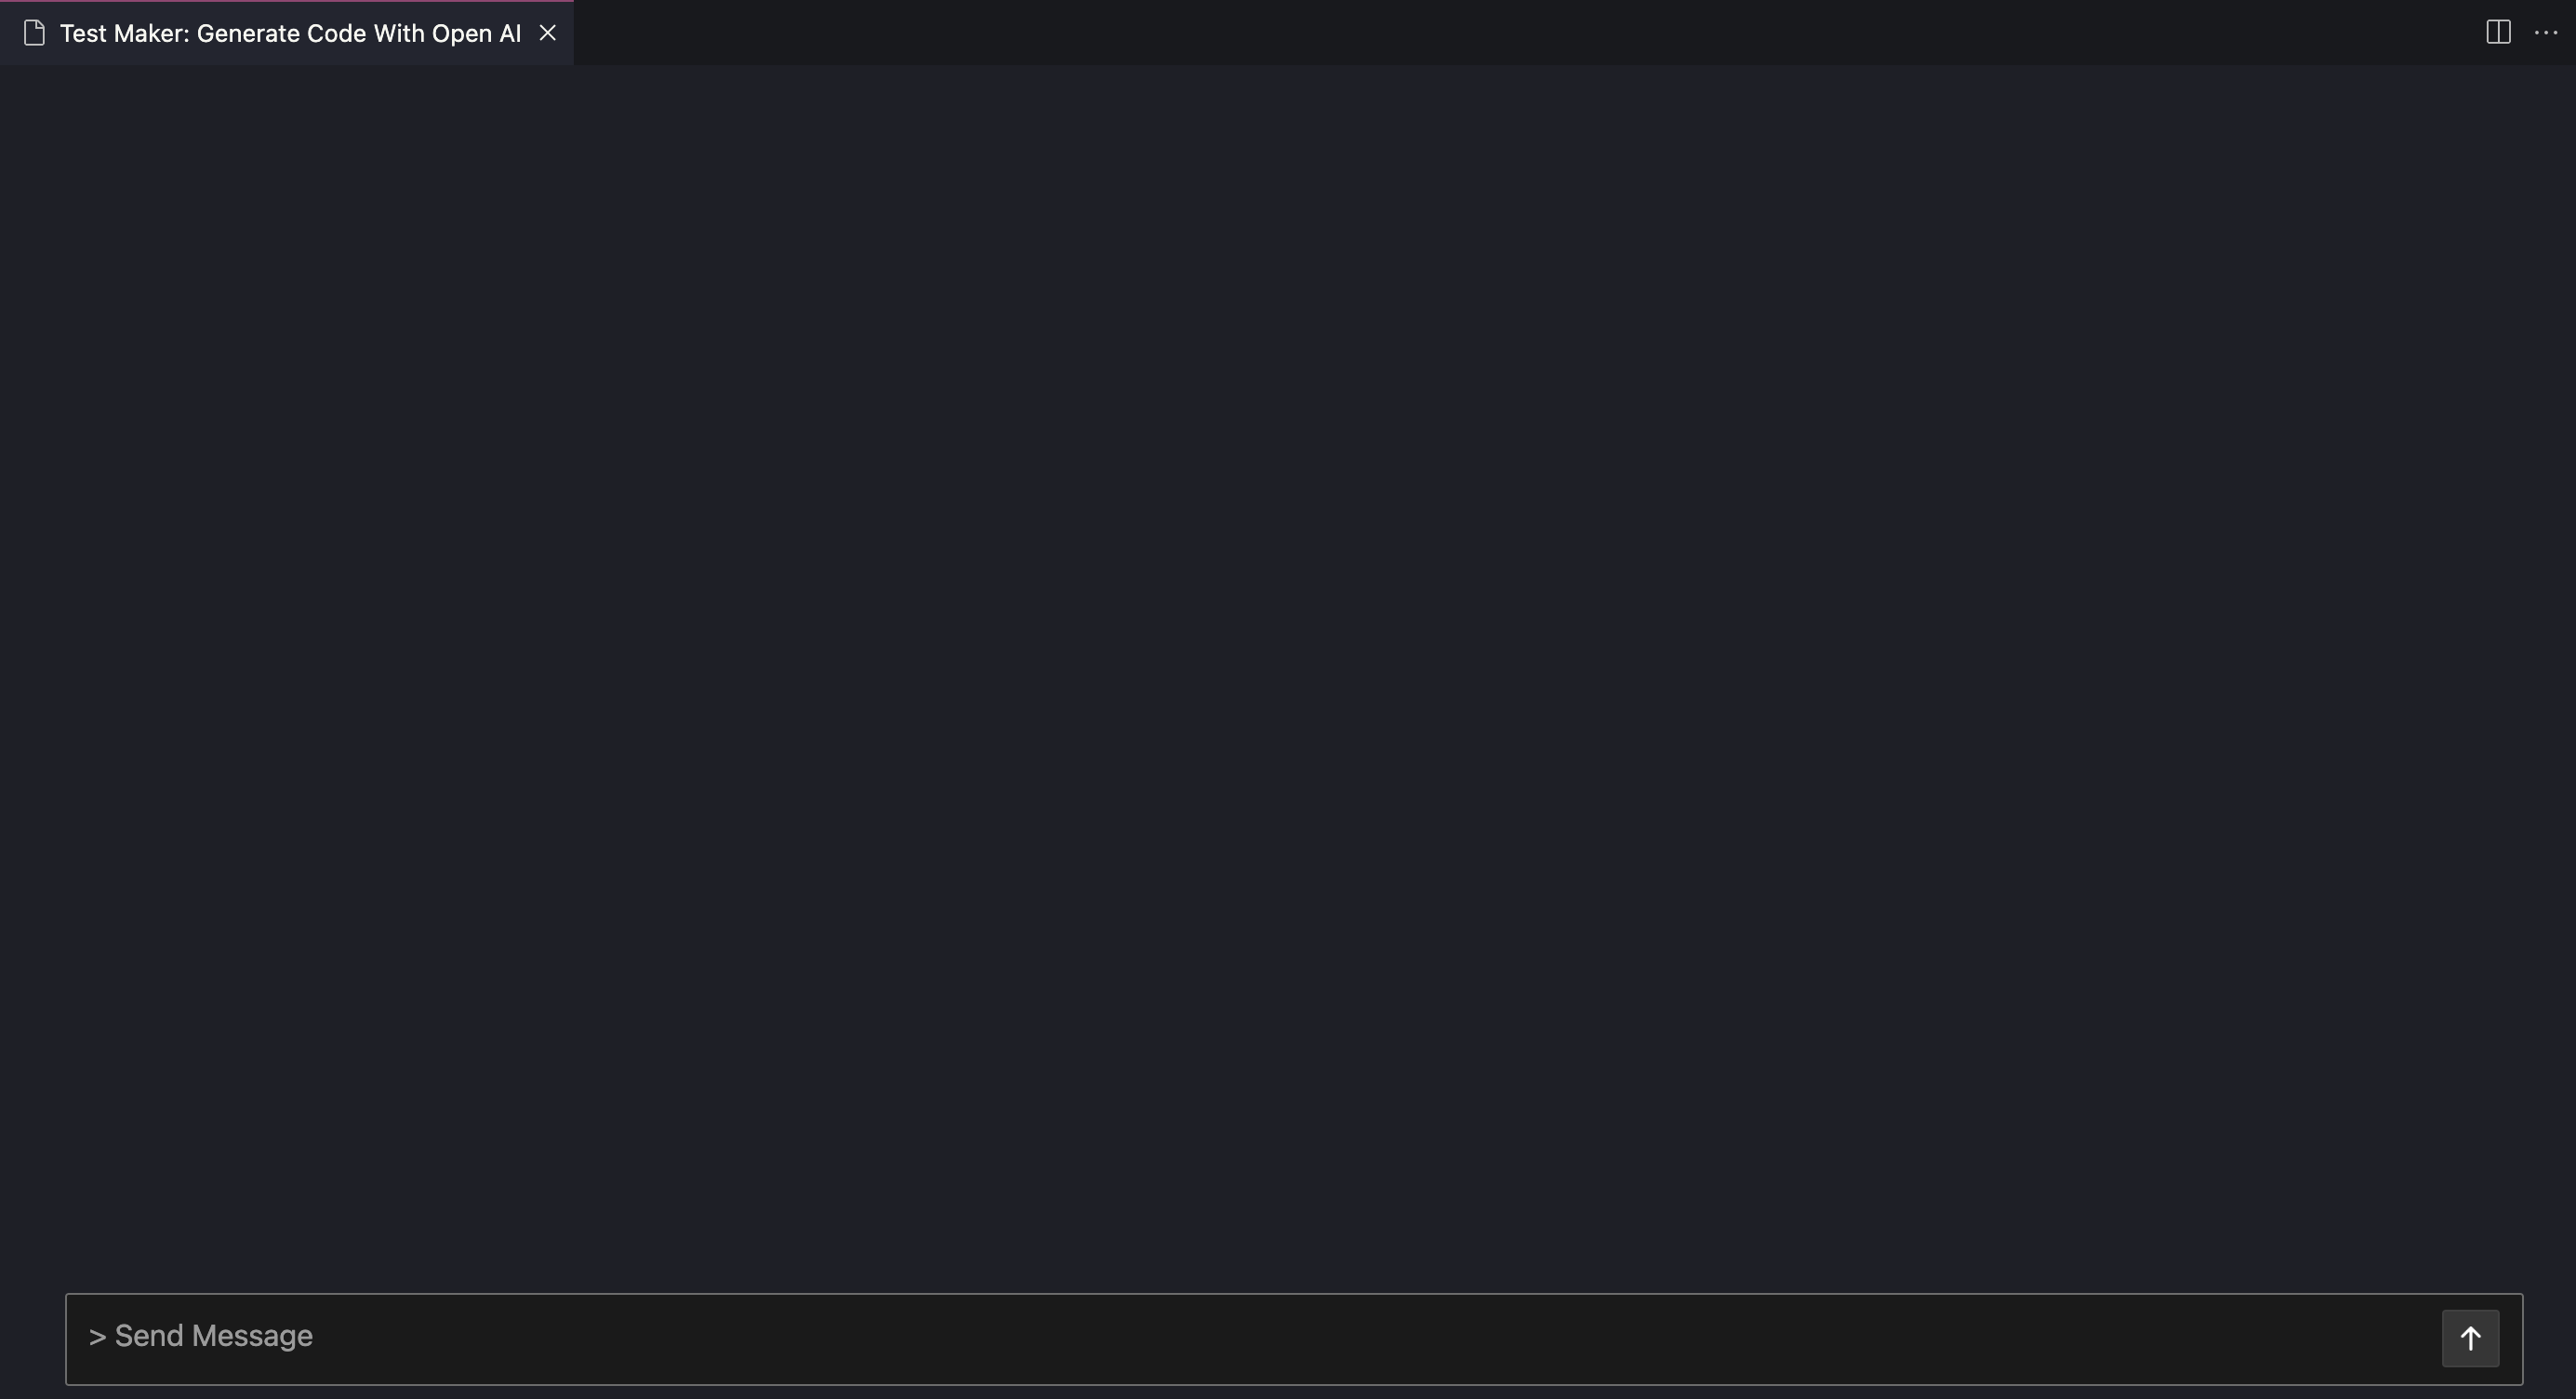
Then you can type your text in the input bar:

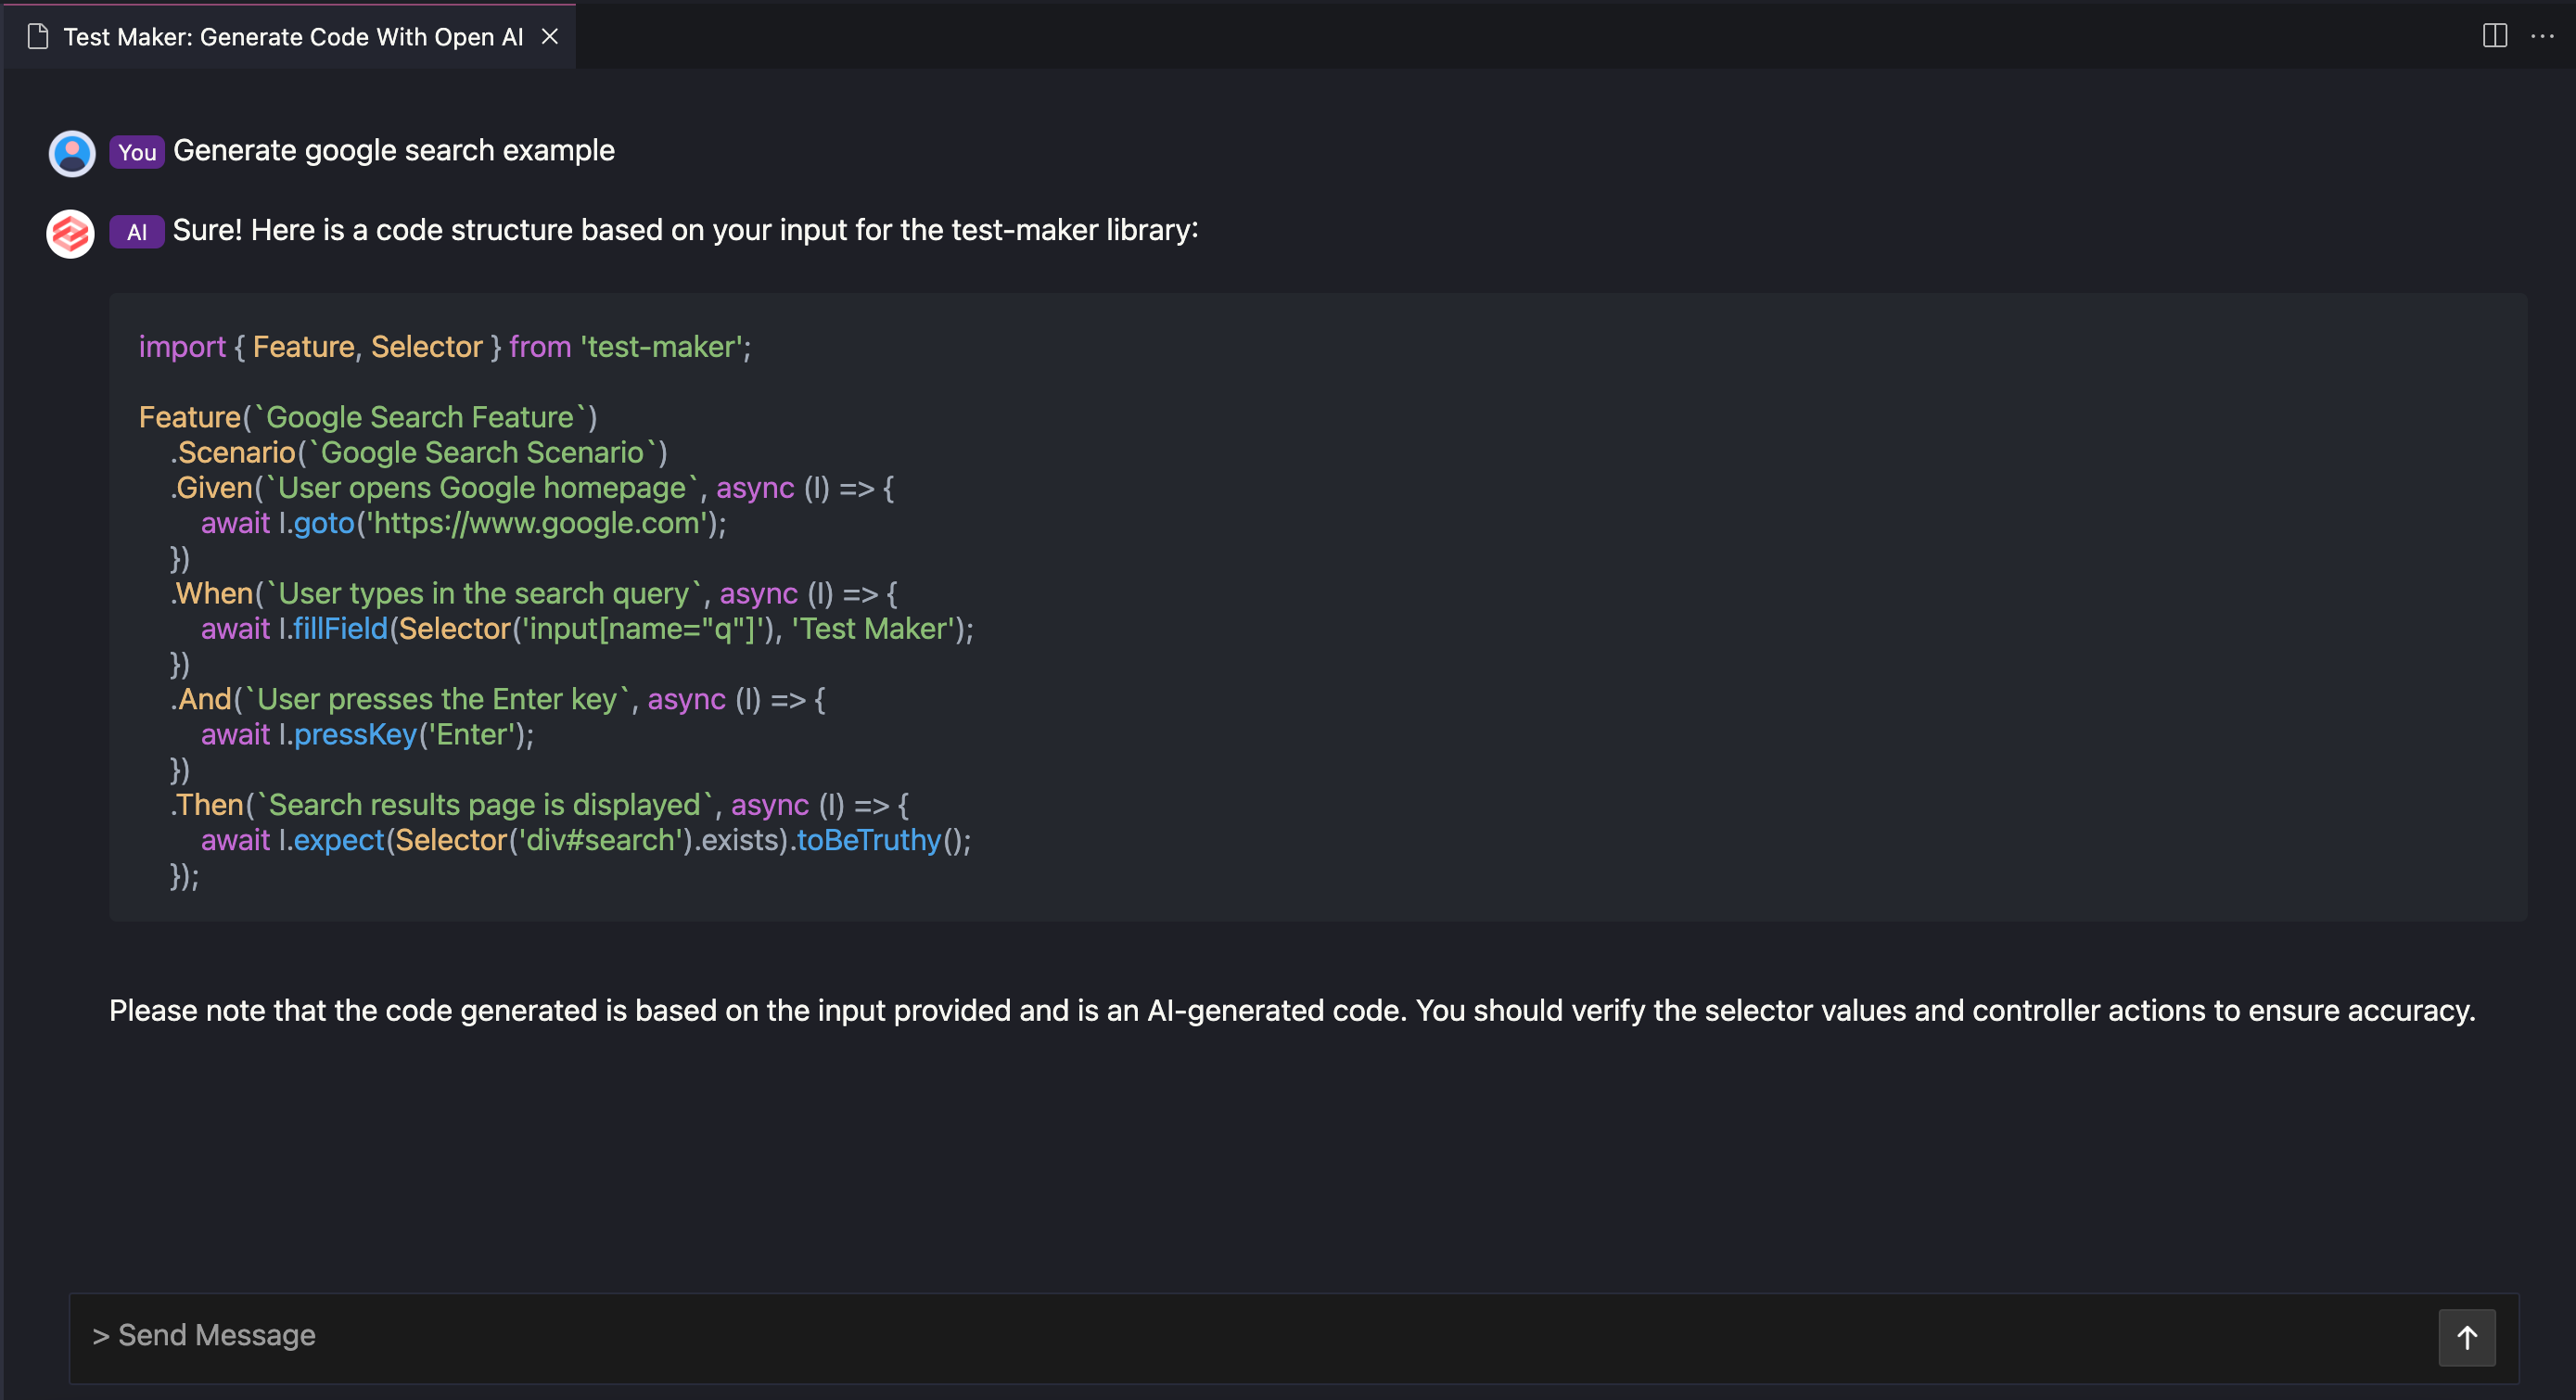
Here's an example of a simple test generated by openAI:
Keep in mind that you can interrupt openAi code generation by clicking on the right square button that replaces send button during code execution as shown below:
-
Review the generated code. Please note that this code is just an example and might not be 100% accurate. Always check values like selector value and controller action names before using the generated code.
-
Be aware that the code is generated by an AI and might not be perfect. Double-check the generated code before using it in your project.